
Caring for Roses - The Ultimate Guide
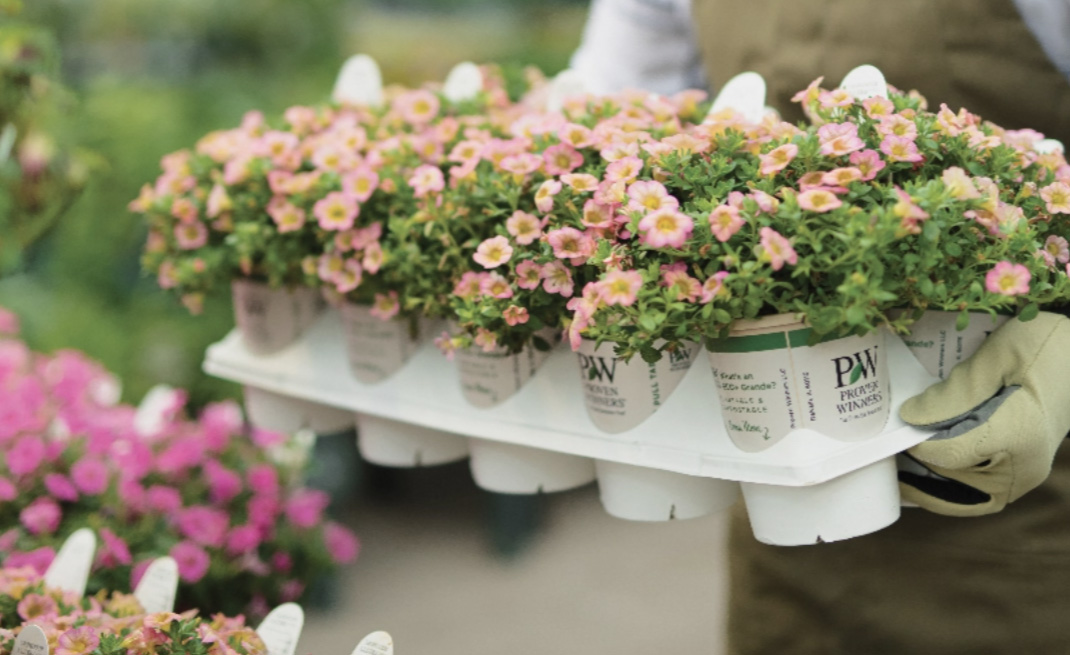
Roses are obviously beautiful, but notoriously terrifying to care for. We introduce roses that are easier to grow and enjoy! We choose roses with good disease resistance, long bloom times, and self-cleaning natures (goodbye deadheading!). Your garden will look like it’s maintained by professionals. We’ve made a guide to help you garden with confidence and get the most out of your Proven Winners ColorChoice roses.
Caring for Roses - The Ultimate Guide
Let's dig in!
Check out these quick links: |
If the planting spot you’ve chosen has good drainage, nice airflow, and direct sun for six or more hours each day, you’re good to go! Resist the urge to tuck your rose into an already packed garden, or to companion-plant too closely around it, as this reduces airflow and promotes an unhealthy atmosphere. Roses resent soggy soil and won’t flower as prolifically if planted in shade, so if you’d like to add a beautiful rose to your garden, be sure it truly has the ideal conditions to thrive.
Planting
How to Plant Roses from a Pot
Roses can be planted in the same manner as any other shrub! Read our How to Plant a Shrub article to get more information. Note: even if you don’t usually garden with gloves on, it’s a good idea to have a pair of leather work gloves handy when planting a rose.
How to Plant Bare Root RosesYou may find bare-root Proven Winners roses available in early spring. These dormant plants are a great way to get a quality rose at a lower cost, but they do need some special plant care to get them off to a good start. Soak - The day before you plan to plant, remove the rose from its package. The soil in the bag will fall away, and that’s okay. Inspect the roots and cut off any that are broken or look dry and shriveled. Fill a bucket with water and soak the roots for about 12 hours to rehydrate them. Dig - The depth and width of the planting hole should be about twice as big as the root system. Once the hole is made, use a little of the excess soil to build up a small hill in the center. Place - Spread the roots over the hill and stabilize the plant with one hand. Put the soil you removed back into the hole, all around the rose. Tamp down gently, but firmly, to secure. (Read more about why we don’t recommend adding additional material to the planting hole in our article about the bathtub effect. Water - Water the plant thoroughly with a hose or watering can to settle and saturate the soil. Then apply a 2-3”/5-7cm layer of shredded bark mulch over the roots. |

Watering
Roses work hard to produce jaw-dropping blooms, so make sure they don’t get thirsty, especially while they are establishing. Watering them from below (at ground level) will keep them as healthy as possible, and less likely to develop any fungal diseases or leaf spots. Although disease resistance is a key component of our rose evaluation criteria, proper watering will further reduce the possibility of powdery mildew or black spot developing. If you have a sprinkler system and your roses must be watered from above, set it to go off in the morning. This will help the leaves dry throughout the day with the heat of the sun.
A few watering tips:Water in the morning. This allows water to soak into the ground quickly, with very little lost to evaporation. Plus, any water that gets on the foliage will have a chance to evaporate during the heat of the day, which decreases the likelihood a disease will develop. When you water, do so thoroughly. This is more helpful than frequent, light watering. A layer of mulch around the base helps the soil retain moisture and will reduce the need to water as frequently. If your area is going through a dry spell, check on your plants more frequently! Dig a few inches into the soil and check for moisture. If it’s almost dry or dry, be sure to water thoroughly. |

Pruning Roses
Get to this task in early spring, just before the plant begins to break dormancy. The month varies depending on how cold your climate is, so let the rose itself be your guide. Once you see its buds start to swell, you can get out the pruners.
|

Winter care
All of our roses are grown on their own roots, so unlike a grafted plant, they don’t require a complicated protection plan for the winter. A layer of mulch and a thorough watering before the grounded freezes will do in most instances.
If deer get your garden down, by literally eating it, consider protecting your rose by securing burlap or a cage around it.
Fertilizer
Apply a granular rose fertilizer in early spring, after the ground has thawed. Usually you can combine this event with pruning roses and plan to do both jobs at once. If you’d like to encourage more blooms, you can put another light application of fertilizer down after the rose has had its first flush of flowers.
Don’t apply fertilizer after mid to late July, as this could promote new growth that would be vulnerable to low temperatures in fall.
Disease
One of the best tools against disease is prevention. Careful planting and pruning can remove the opportunity for disease to strike! Read above about each of those topics for more info.
We select roses that have superior disease resistance, so if it looks like your rose is suffering from a disease, please reach out via Feedback with some photos and we can help you navigate your particular situation.
Rose rosette: Sadly there aren’t any known roses that have resistance to this deadly disease. The only option is removal and proper disposal. Learn more about it in this article.
Pests
Unfortunately, we haven’t found a plant that is completely resistant to many of our common garden nemeses. It’s important to keep an eye on your roses so if a problem occurs you can get a jump on it early, before it has a chance to get out of hand! If a bothersome bug happens to stop by, this is the best advice we have to get you through:
Aphids: Spray them off with a strong stream of water from the hose or, if the infestation is very bad, completely remove the affected stem.
Sawfly (also called rose slugs): If you’re seeing holes in the leaves, turn each of them over and check for the telltale small larvae. You’ll really have to search for them at first! They blend in to the foliage easily because they are the same color as the leaves they’re eating. Destroy them immediately. Continue checking every day until you see new growth that’s free from holes. Be sure to check again early the next spring, as a few of them might have fallen off and lived to bite another day.
Toxic or Dangerous?
Roses do not have any naturally occurring toxic chemicals in their stems, leaves, and roots, but we still don’t recommend consuming a plant unless it is explicitly labeled as edible. It’s also important to note that roses have thorns (some more than others) which can result in injury to pets and humans alike. So if you have dogs or kids running around, try to plant your rose away from high traffic areas.
Frequently Asked Questions
Can I grow roses in containers?
Yes! It’s just like growing any other shrub in a container, with one exception. Consider if the thorns will be an inconvenience or a hazard where your rose will be placed. Check out our guide to growing shrubs in containers.
Do I need to use a rose cone or mulch pile in winter?
You don’t need to use rose cones for Proven Winners roses. Our roses grow from their own roots, so unlike grafted roses, there isn’t the same level of concern that they’ll be damaged by harsh winters. As for mulch, it’s a good idea to put down a 2-3”/5-7cm layer (but mounding is not needed). This helps the soil retain moisture and protects the roots during the winter.
Deadheading is the process of cutting off flowers that are past their prime. You can tell a rose flower is declining when the petals start to loosen and fall off.
How do I deadhead?
Although most Proven Winners roses don’t need to be deadheaded to rebloom, you may want to go over your plant to give it a tidier appearance. To do this, you’ll follow the stem of the spent bloom down to the first set of five leaves. Cut in a diagonal about 1/4 - 1/8” or .635 - .3175cm above the leaf. See the photo example above of a proper cut.
Why do my roses have berries?
These are rose hips! These are the fruit that roses produce and contain the seeds. They offer beautiful winter interest and can be used in cut flower arrangements.
My rose is blooming a different color than it should. What’s going on?
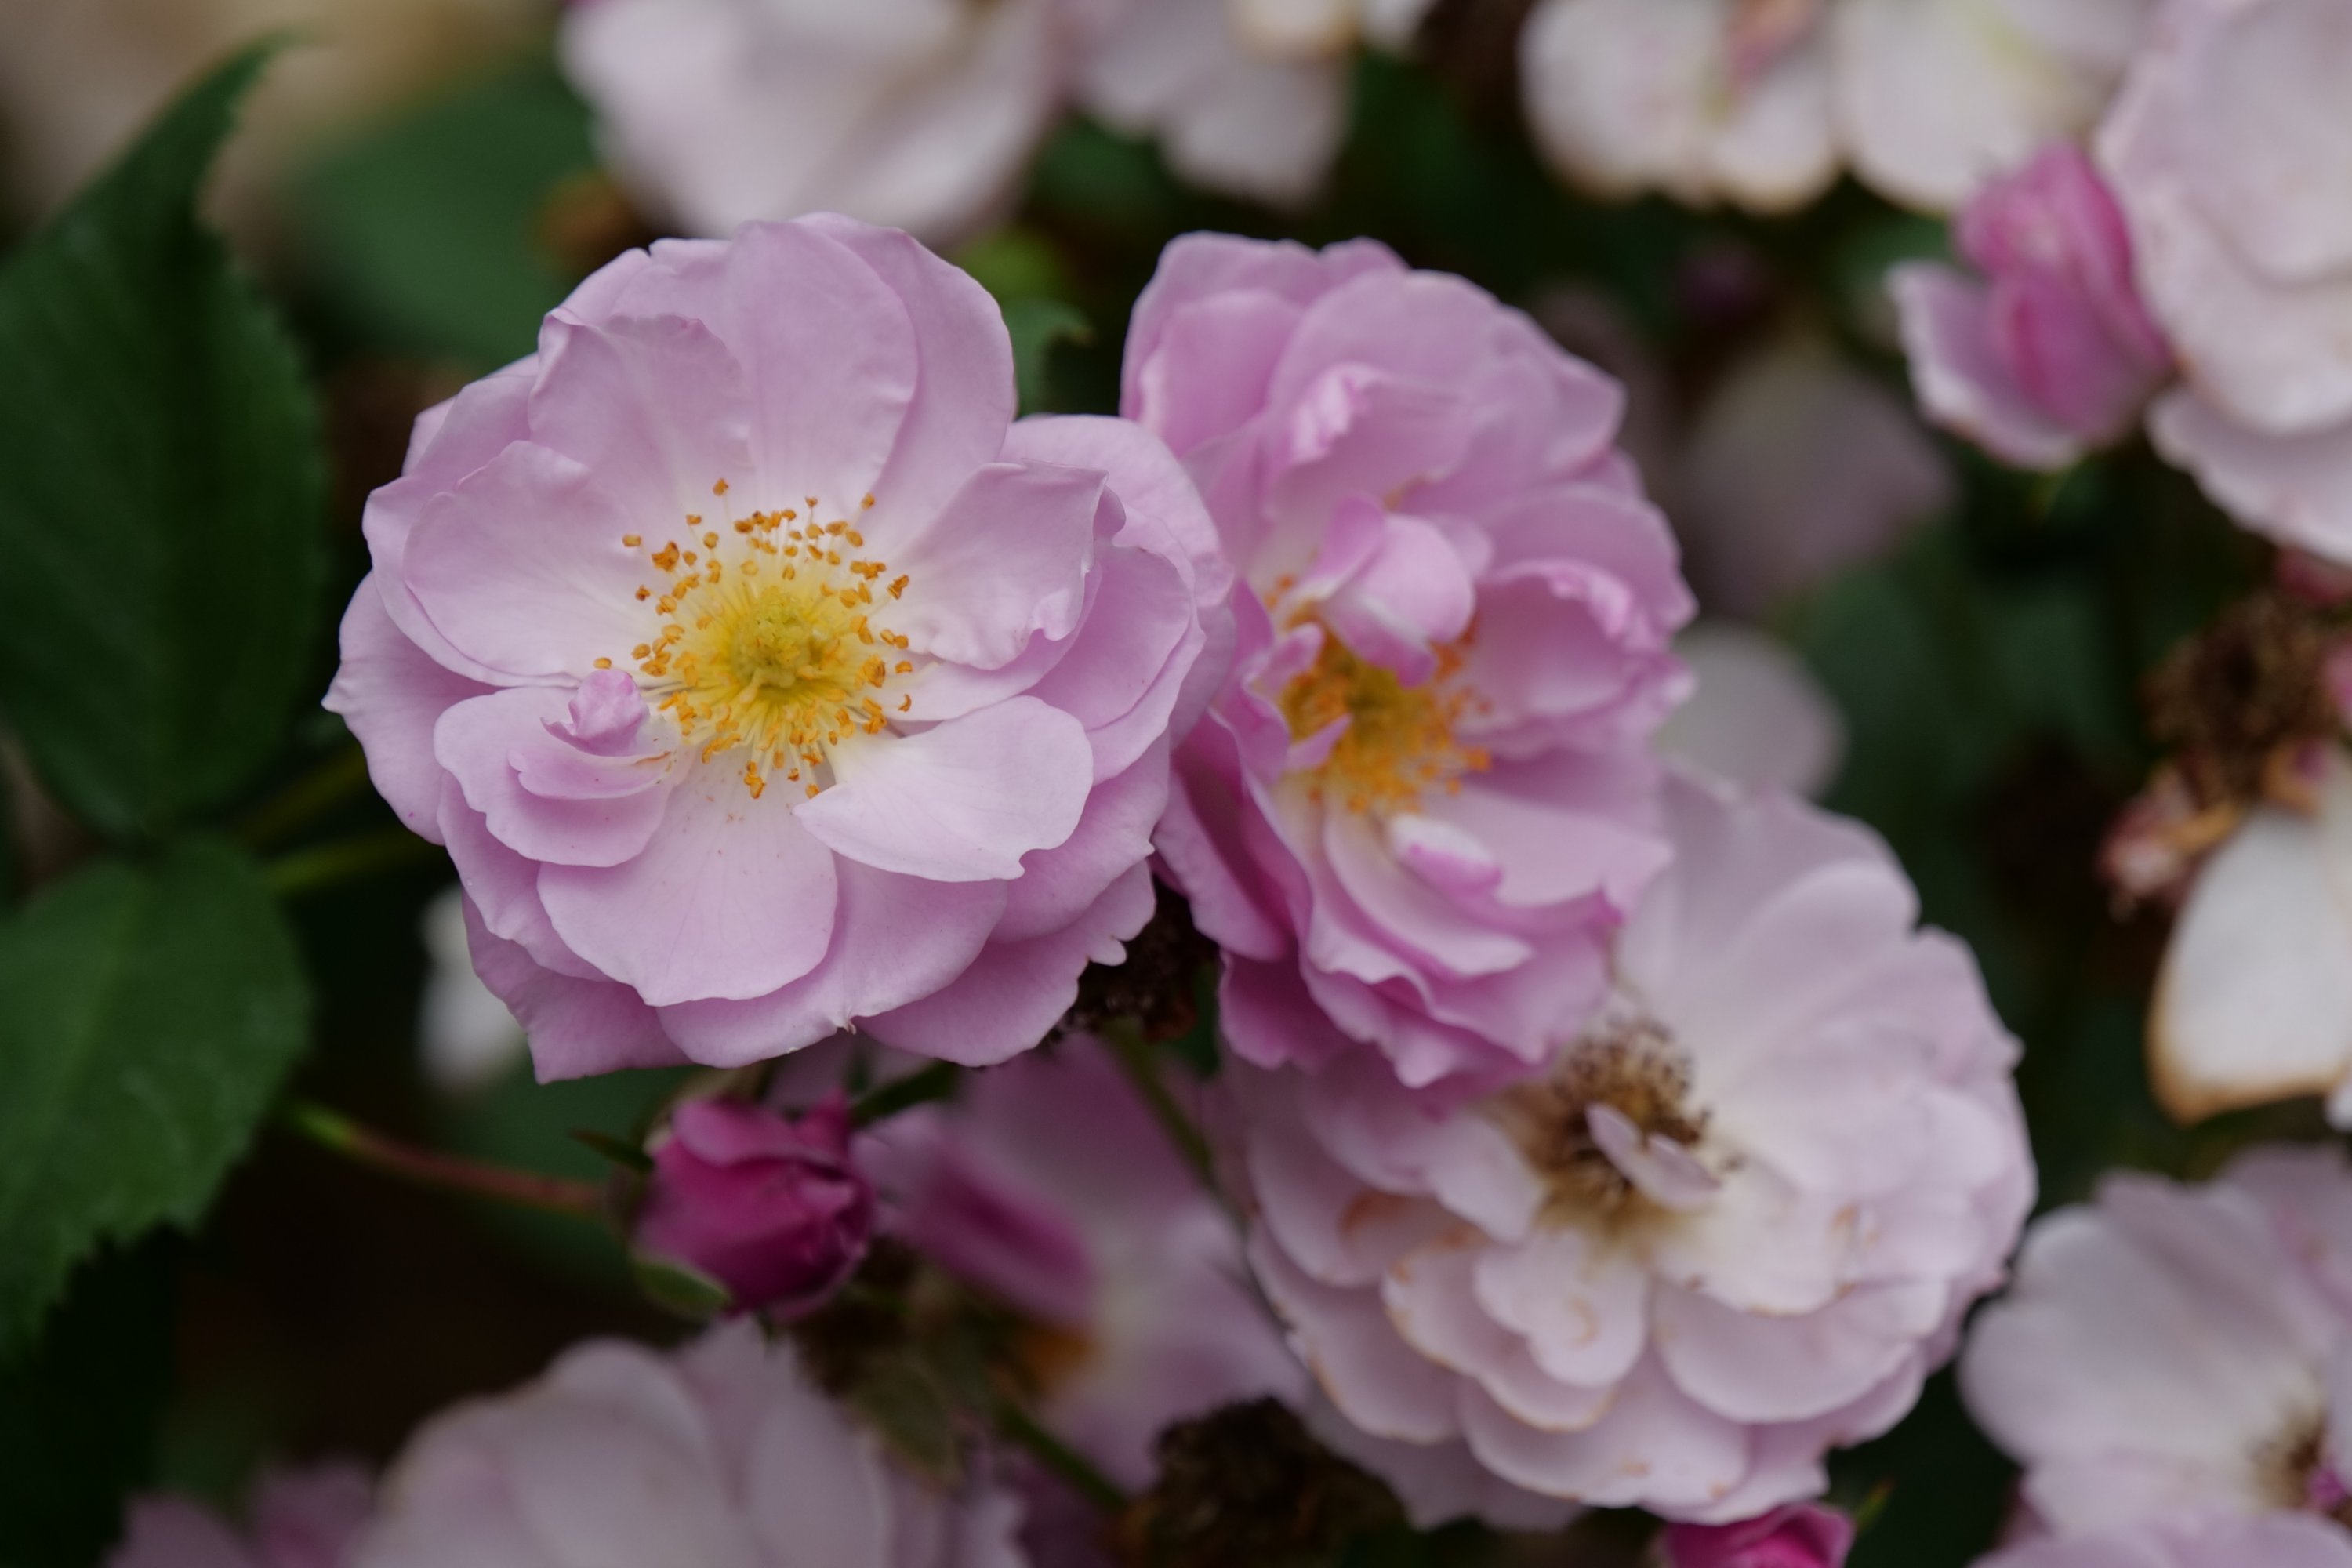
The color of certain roses can be strongly influenced by temperature. This may mean that their color becomes brighter and more intense in cooler weather, or it could mean the flower color is totally different. At Last® is one such rose: buds set during cold weather will open to flowers with pink tones, and buds set in very hot weather will open to yellow tones, instead of the more standard apricot color. This is a temporary change, and the plant will flower normally when temperatures even out.
Still have questions?
We’re here to help! You can contact us with your gardening questions and one of our horticulturists will get back to you. Please include your zip/postal code and a photo if possible.